
First login
A freshly deployed Docsentry database has roles but no users. The first account is created from configuration at startup.
Seeding the administrator
Section titled “Seeding the administrator”Supply both bootstrap keys. In development, user secrets keep them out of source control:
dotnet user-secrets set "Bootstrap:AdminEmail" "admin@example.com" --project src/Docsentry.Webdotnet user-secrets set "Bootstrap:AdminPassword" "<a strong password>" --project src/Docsentry.WebIn a deployment, supply them as environment variables instead:
Bootstrap__AdminEmail=admin@example.comBootstrap__AdminPassword=<a strong password>On startup the seeder runs in two steps:
- It creates any missing system role.
- If both
Bootstrap:AdminEmailandBootstrap:AdminPasswordare present, it creates that user and assigns theAdministratorrole.
The step is idempotent - restarting does not create duplicates. If either key is absent, administrator seeding is skipped entirely and no account is created. That is a supported state for an environment where accounts arrive some other way, but it does mean a fresh database with no bootstrap keys leaves you with nothing to sign in as.
The password must satisfy the configured policy: at least eight characters, with upper case, lower case, and a digit.
System roles
Section titled “System roles”Five roles are seeded:
| Role | Intended for |
|---|---|
Administrator |
Full administrative access, including users, roles, and all configuration screens. |
RecordsManager |
Records lifecycle: retention, governance, and repository-wide document management. |
WorkflowManager |
Authoring and managing workflow definitions. |
Auditor |
Read access to audit and reporting surfaces. |
User |
Ordinary use of the workspace. |
Authorisation policies are built on these roles, plus a MetadataConfiguration policy that gates
the content type, taxonomy, and numbering screens.
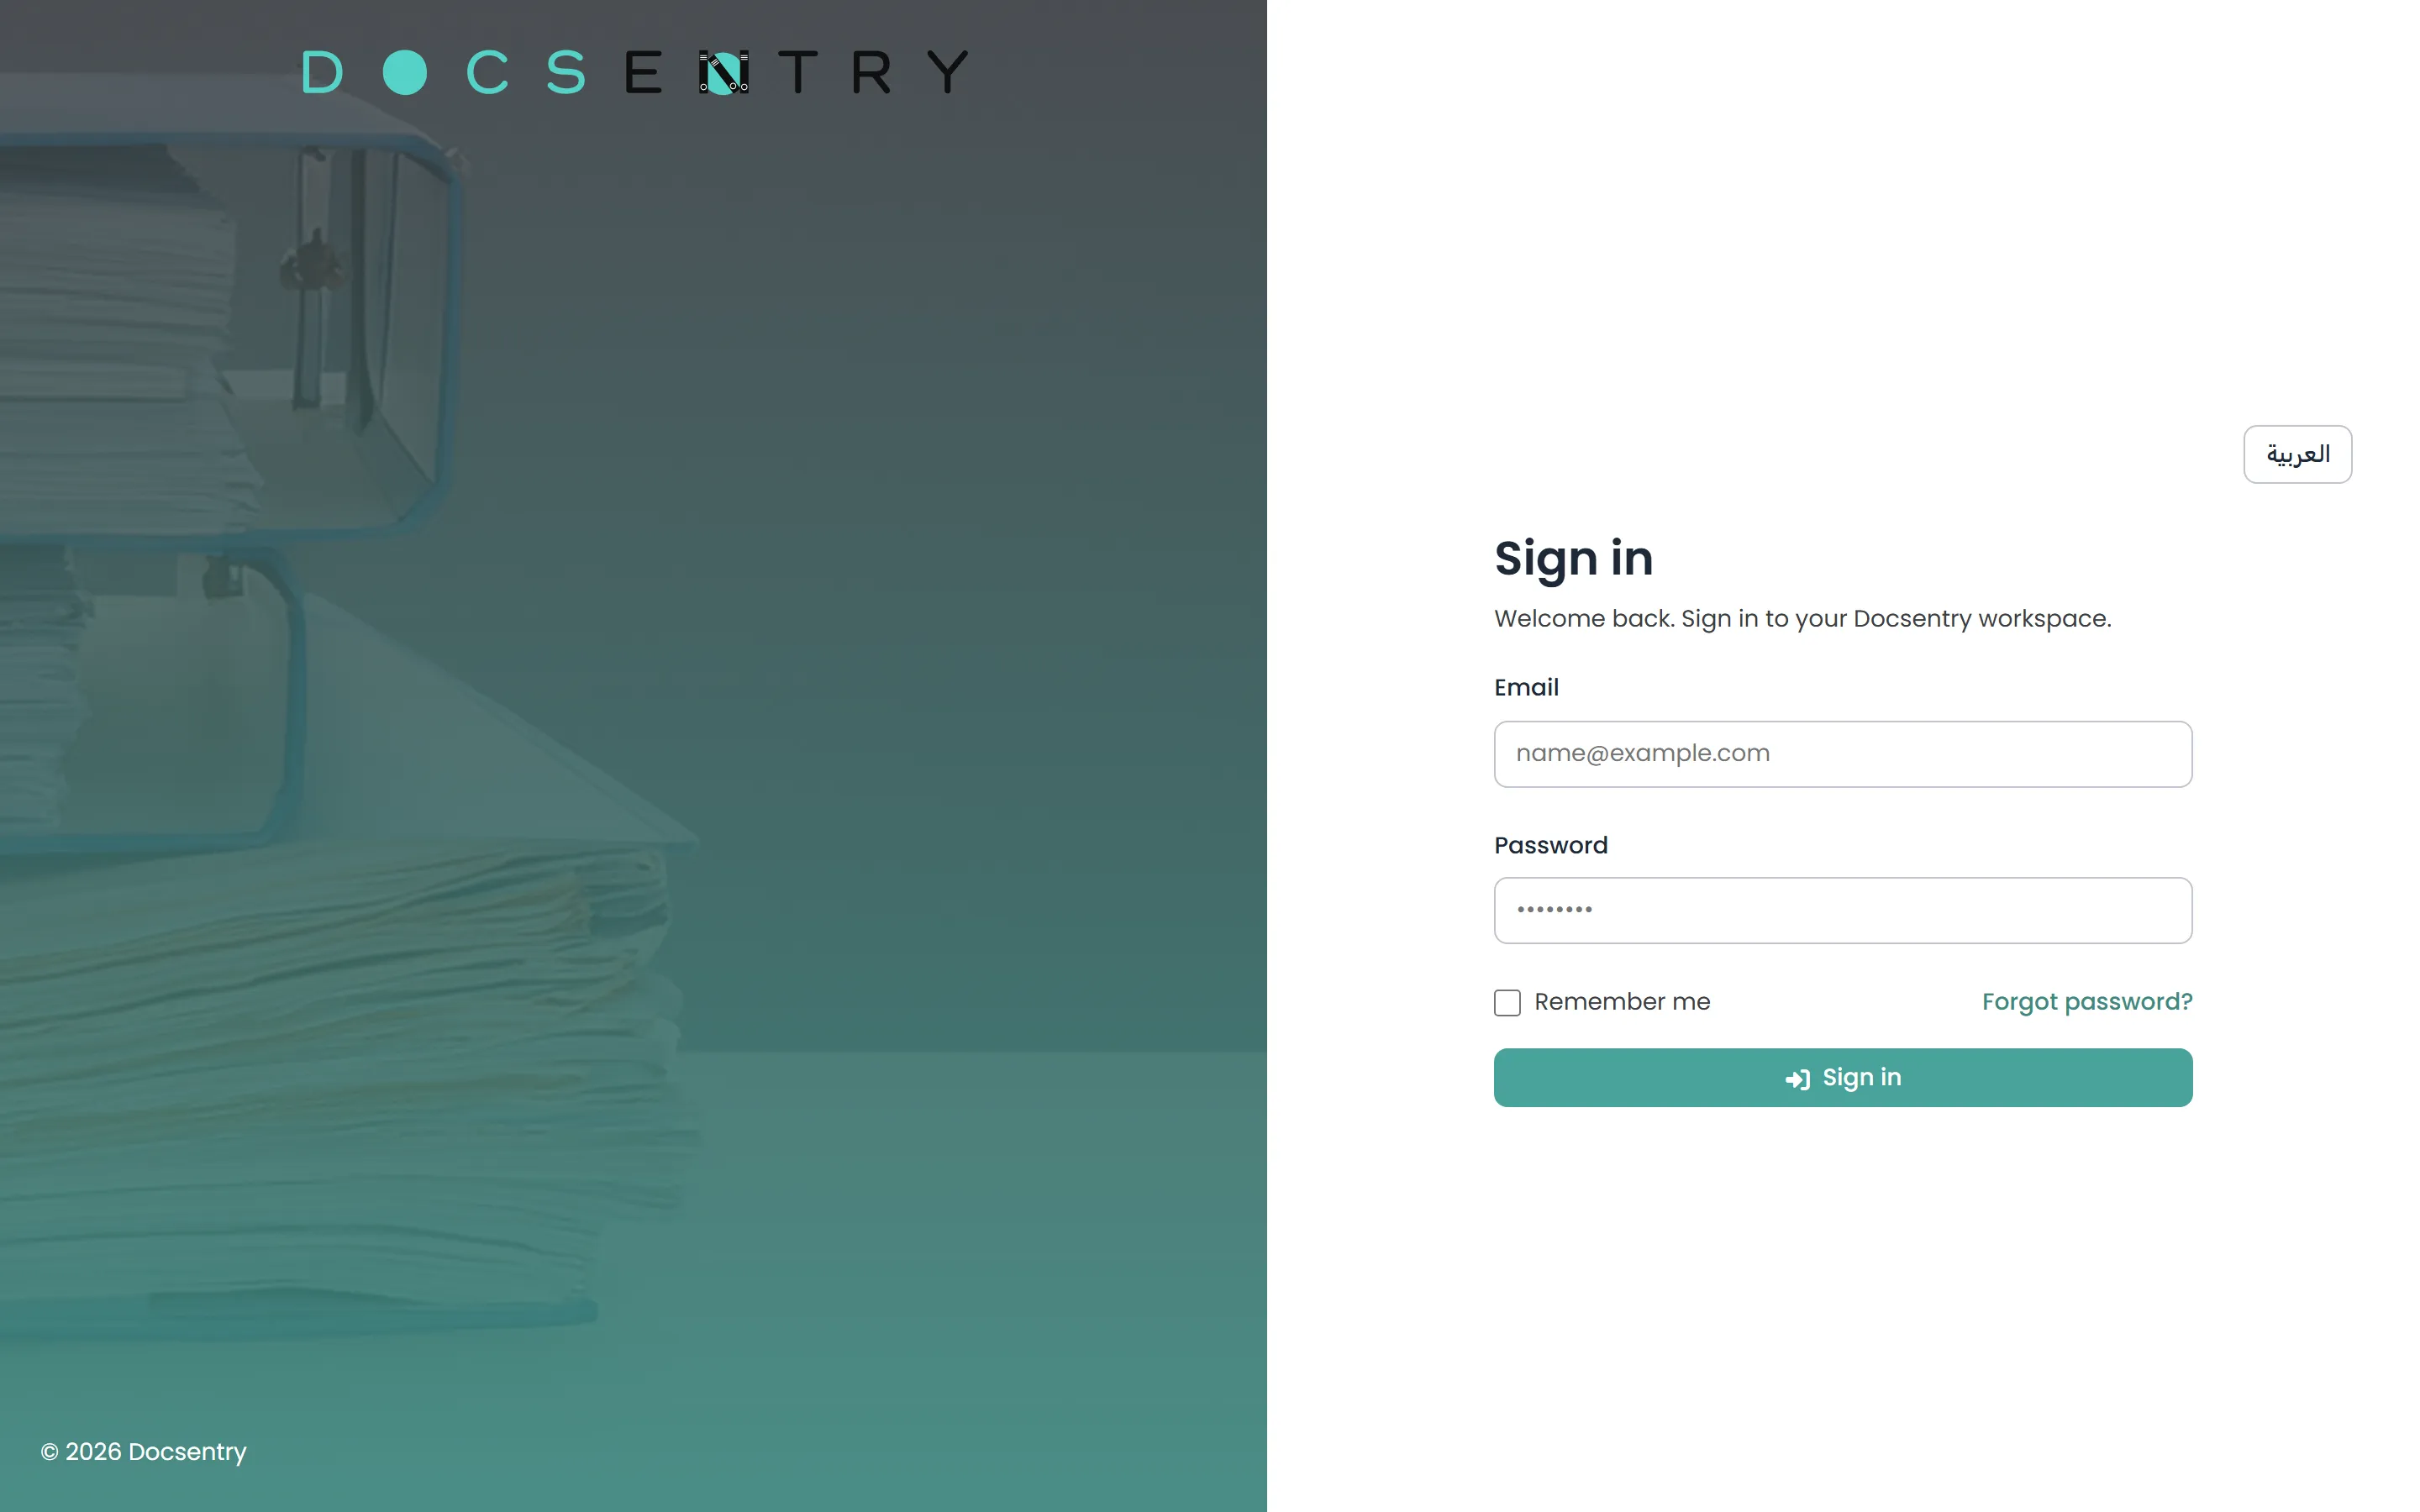
The sign-in page. Two-factor authentication, when enabled, is requested after the password.
Your first session
Section titled “Your first session”1. Sign in with the bootstrap credentials. You land on the dashboard, which will be empty.
2. Enable two-factor authentication. Open your profile menu, go to the two-factor authentication page, scan the QR code with an authenticator app, and confirm with a generated code. Store the recovery codes somewhere safe - they are shown once. Do this before the account holds anything of value.
3. Create a folder. Go to Folders and create a root folder. Folder depth is capped by
Folders:MaxDepth, which defaults to 10.
4. Upload a document. Open the folder and drag a file onto it, or use the upload page. A PDF or an image is the best first test, because those preview without needing LibreOffice installed.
5. Confirm the pipeline ran. The document should appear with a thumbnail once preview generation has run. If text extraction is configured, the document’s text panel fills in shortly after. Both happen on background jobs rather than during the upload request, so a short delay is expected - see Background jobs.
Creating other users
Section titled “Creating other users”Self-registration is disabled by default and should stay that way on any internet-facing deployment - see the warning in Configuration. Create further accounts from the Users screen under Administration, then assign roles and grant repository access.
See Users and roles for the account creation flow, and Departments and org units for grouping people so that access can be granted to a group rather than one person at a time.